I do not add sugar when making the yogurt, I prefer to add honey or fruit to naturally sweeten each time I enjoy a serving. My latest indulgence is a fruit smoothie each morning.....YUM! The initial cost of ingredients may vary based on the milk and starter yogurt you choose to use. My initial cost per 8 ounce or 1 cup serving was approximately $.39, using a reserved 6-8 ounces from a current batch of yogurt for future batches the cost drops to $.29 a serving. Questions on the yogurt making process are most welcome!
Step 1: Wash pint mason jars and lids. I use approximately 4 -5 pint jars for one half gallon of milk

Step 2: Sterilize jars and lids along with any utensils that will be used in the yogurt making process in boiling water for 10 minutes.

Step 3: Gather necessary ingredients; Half gallon of good quality milk (can use whole, 1%, 2% or skim), 1/3 cup powdered or dry milk (optional) this adds a little thickness to your yogurt if you prefer it a little more firm, 6 oz. yogurt starter. Starter can be yogurt from previous batch or for first time yogurt makers a 6 oz. yogurt purchased at the grocery store. The purchased yogurt must be labeled as 'containing live cultures'. I used a plain 6 oz. container of Stonyfields brand. You may also purchase a yogurt starter that will work equally as well.

Step 4: Set aside sterilized jars, lids and utensils until ready to use. Update: I have found that if I just wash and rinse the jars, lids and rings well with sudsy water and then rinse in very hot water it is not necessary to sterilize. We eat the yogurt fast enough that spoilage has never been an issue.

Step 5: Simmer milk slowly, do not allow to boil, stirring occasionally until the thermometer reaches 180 degrees F. Turn off the heat and allow to cool stove top to 110 degrees F. It is very important that you do not heat past 180 degrees as this can affect the flavor and texture of your finished product. The reason you heat your milk is to destroy the naturally occurring enzymes allowing the yogurt cultures you add to do their job without interference. If these naturally occurring enzymes are not destroyed your finished product will resemble a sour milk rather than a thick creamy yogurt.

Step 6: Optional, add 1/3 cup of dry or powdered milk and stir till completely dissolved. This I have found helps to make a thicker, creamier yogurt. If you omit this step the yogurt still turns out creamy but not as thick. It is a matter of personal preference.

Step 7: If you want the milk can be cooled a little quicker by setting the kettle in a bowl with cold ice water.

Step 8: When the yogurt has cooled to 110 degrees F. 'Temper' the starter by adding 1 or 2 ladles of the warm milk to the yogurt starter in a separate bowl and whisking together until blended. It is important to temper your starter as to not shock or destroy the yogurt bacteria by heating it too quickly when added directly into you heated milk. Then add this mixture to the kettle of warm milk and blend well.

Step 9: Ladle warm milk/yogurt mixture into the clean and sterile mason jars. Cover 'loosely' with the lid and sealing ring. Be sure to wipe off any milk/yogurt from the jar rim. Clean rims will promote the jars ability to 'seal' when they cool.

Step 10: Place jars into dehydrator heated to 110 degrees F. and allow to ferment for 6 to 8 hours undisturbed. If you prefer a more tart flavored yogurt you can allow the jars to ferment for up to 10 hours. I found that our family likes it at 6-7 hours after experimenting with different times.

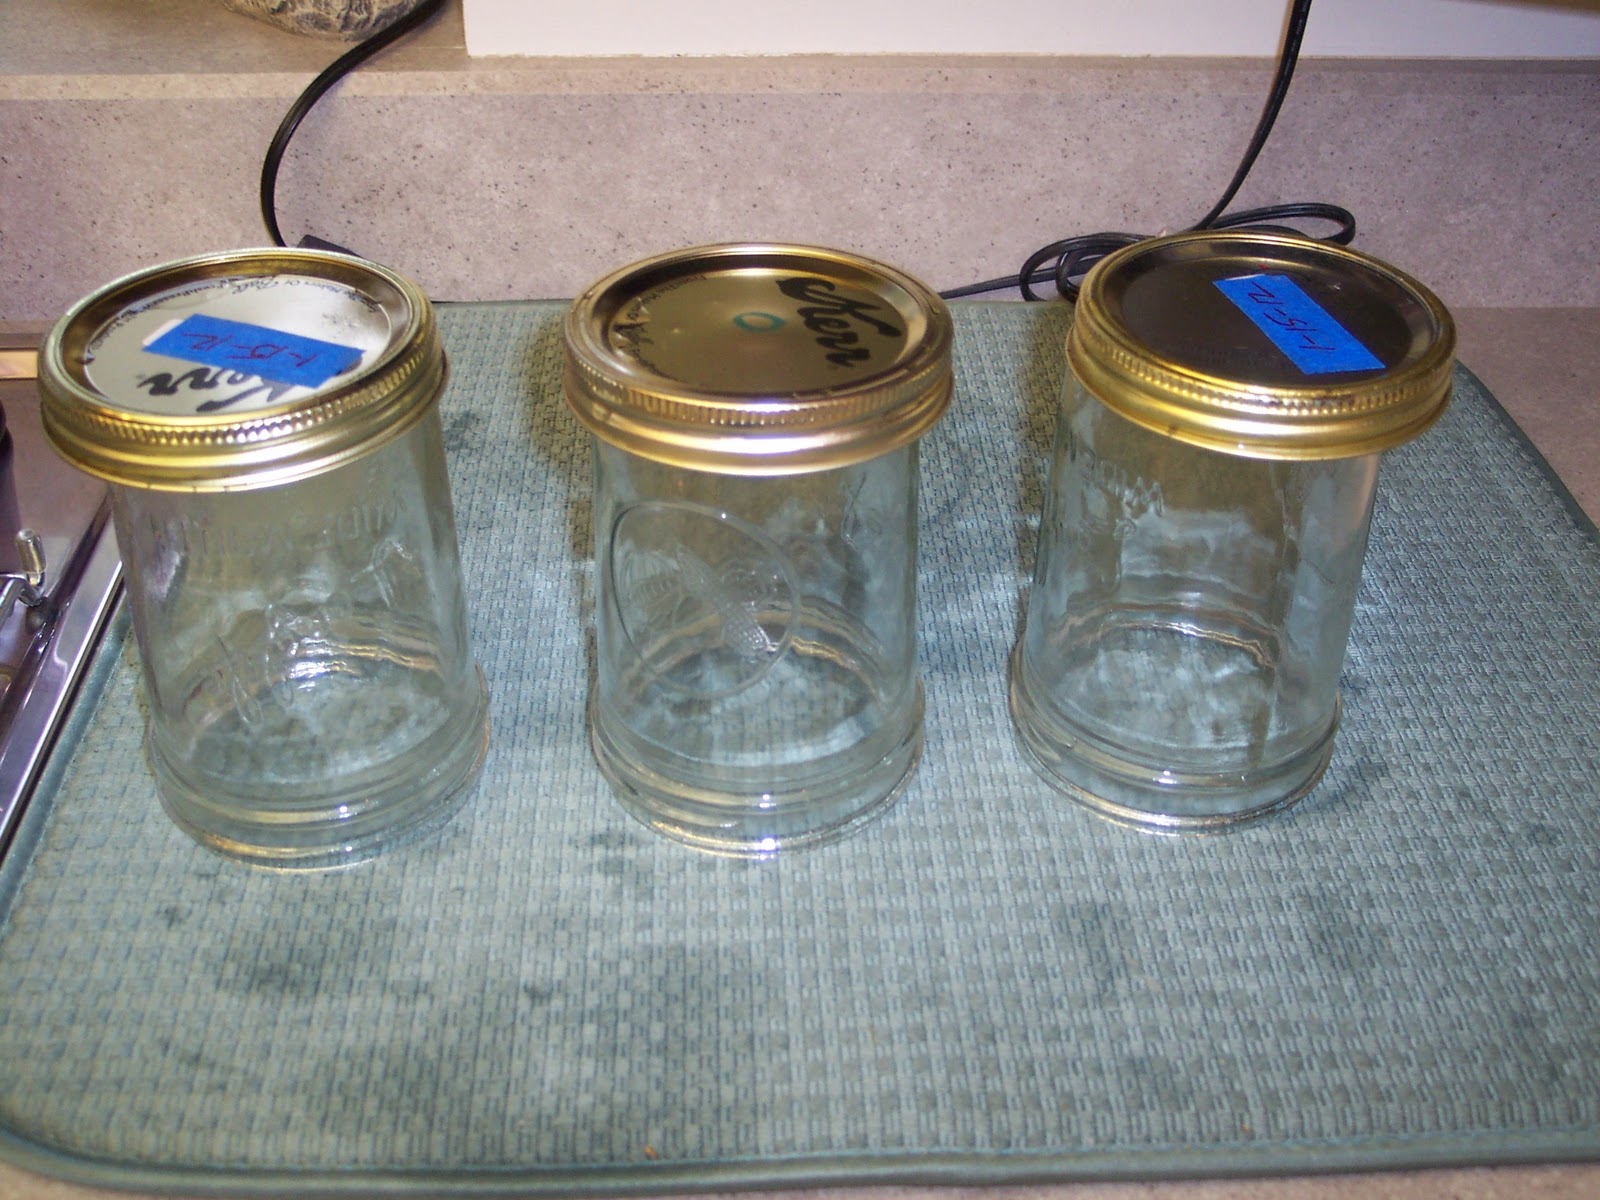
The finished product. After removing the jars from the dehydrator tighten the jar rings on each jar and place in the refrigerator. I date the lids with a piece of tape marked with that days date. I like to make a smaller jar 1/2 pint or 6 oz. jar to be used as my started for my next batch.
No comments:
Post a Comment